

Ever faced a sluggish filtration system and wondered, ‘How to replace obsolete filter cartridges?’ You’re not alone. In industrial settings, outdated filter cartridges can significantly hamper efficiency, leading to reduced flow rates and increased pressure drops. But don’t worry—this guide is here to walk you through every step of the replacement process, ensuring your system runs smoothly. Ready to become a filter replacement pro? Let’s dive in!
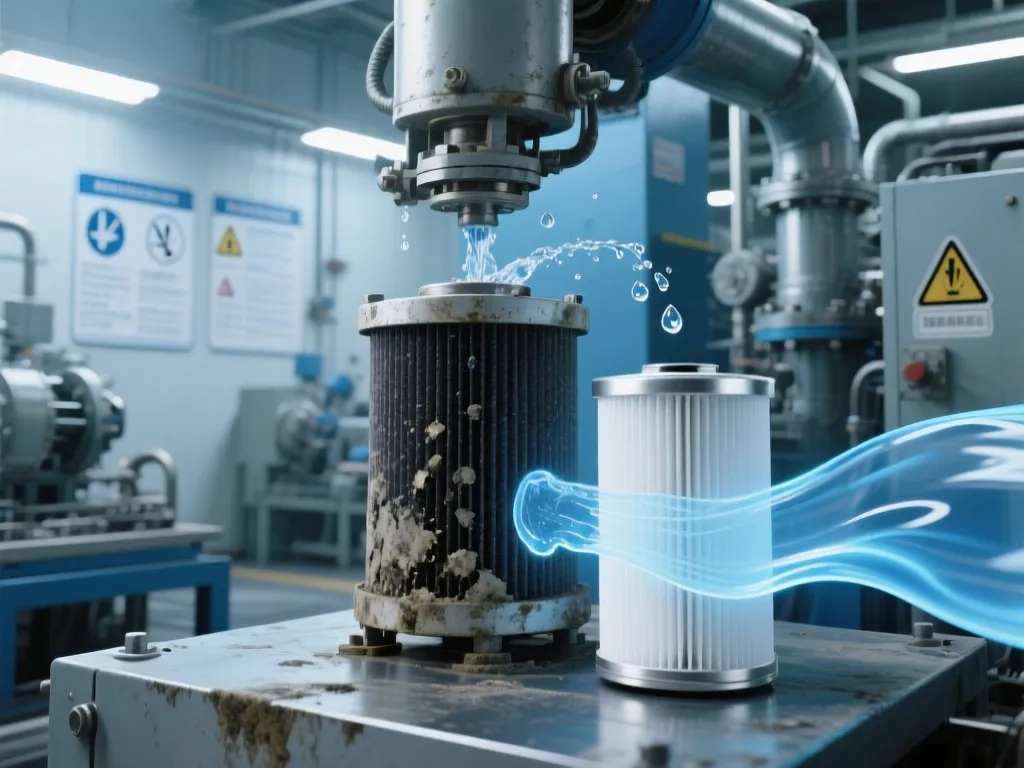
Understanding the Need for Replacement: Signs of an Obsolete Filter Cartridge
When it comes to maintaining an efficient industrial filtration system, recognizing the signs of an obsolete filter cartridge is crucial. Just like any other component in your machinery, filter cartridges have a finite lifespan, and ignoring their degradation can lead to significant performance issues. So, how do you know when it’s time to replace your filter cartridge? Let’s dive into the telltale signs that indicate your filter cartridge is past its prime and needs immediate attention.
One of the most noticeable signs of an obsolete filter cartridge is a reduced flow rate. Have you ever noticed that the liquid or gas passing through your filtration system isn’t flowing as smoothly or quickly as it used to? This could be a clear indication that your filter cartridge is clogged or saturated with contaminants. As the filter media becomes saturated, it loses its ability to trap particles effectively, leading to a decrease in flow rate. This reduction in flow not only affects the efficiency of your filtration process but can also cause downstream equipment to operate under stress, potentially leading to premature failure.
Another critical sign to watch out for is an increased pressure drop across the filter cartridge. Pressure drop refers to the difference in pressure between the inlet and outlet of the filter. Under normal operating conditions, a filter cartridge should maintain a relatively stable pressure drop. However, as the filter becomes clogged, the pressure required to push the fluid through the filter increases, resulting in a higher pressure drop. This increased pressure can strain your filtration system’s pumps and other components, leading to higher energy consumption and potential damage.
Visible damage to the filter cartridge is another unmistakable sign that it’s time for a replacement. Over time, the filter media can degrade due to exposure to harsh chemicals, high temperatures, or mechanical stress. This degradation can manifest as tears, holes, or cracks in the filter media, allowing contaminants to bypass the filter and enter your process stream. Not only does this compromise the quality of your final product, but it can also lead to costly downtime and repairs if left unaddressed.
Now, you might be wondering, how do these signs impact the overall performance of my filtration system? Well, the consequences can be far-reaching. A reduced flow rate and increased pressure drop can lead to inefficient filtration, meaning that more contaminants are passing through the system than intended. This can result in poor product quality, increased waste, and higher operational costs. Additionally, the strain placed on your filtration system’s components due to increased pressure can lead to premature wear and tear, reducing the lifespan of your equipment and increasing maintenance costs.
Moreover, visible damage to the filter cartridge can have severe implications for your process safety. If contaminants are allowed to bypass the filter, they can accumulate in downstream equipment, leading to blockages, corrosion, or even catastrophic failures. In industries where product purity is critical, such as pharmaceuticals or food and beverage, any compromise in filtration efficiency can have serious regulatory and financial repercussions.
In conclusion, recognizing the signs of an obsolete filter cartridge is essential for maintaining the efficiency and reliability of your industrial filtration system. By keeping an eye out for reduced flow rate, increased pressure drop, and visible damage, you can take proactive steps to replace your filter cartridge before it causes significant performance issues. Remember, regular maintenance and timely replacements are key to ensuring that your filtration system operates at peak efficiency, protecting your equipment, and delivering high-quality products.
Tools and Materials Required: Your Ultimate Checklist
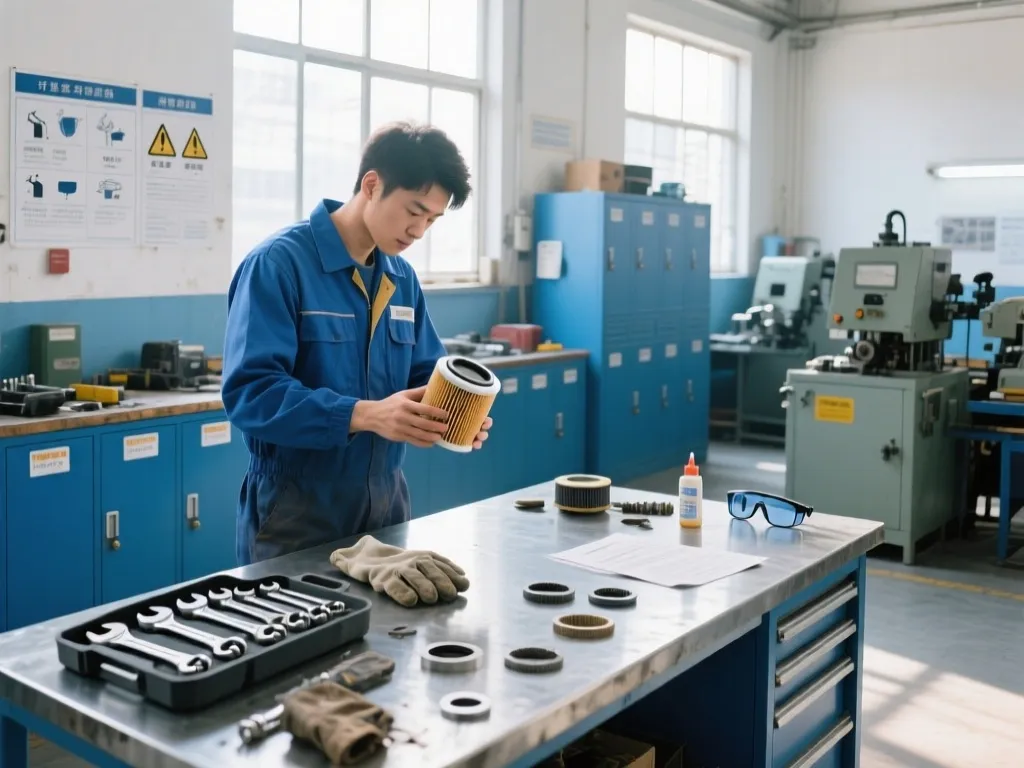
Replacing obsolete filter cartridges isn’t just about swapping out old for new; it’s about ensuring you have the right tools and materials at your disposal to make the process smooth, efficient, and safe. Let’s dive into the essentials you’ll need, along with some pro tips on selecting the best options for your specific industrial filtration setup.
First up, let’s talk tools. You’ll definitely need a set of wrenches – adjustable ones are great for versatility, but having a few fixed-size wrenches that match the common fittings in your system can save you time and frustration. Don’t forget a pair of sturdy gloves; not only do they protect your hands from sharp edges and hot surfaces, but they also provide a better grip, reducing the risk of dropping tools or components. Safety goggles are a must-have to shield your eyes from any debris or splashes that might occur during the replacement process.
Now, onto the materials. The most obvious item on your list is the new filter cartridges themselves. But here’s where things get a bit more nuanced: not all filter cartridges are created equal. You’ll need to consider factors like the type of filtration required (e.g., particulate, chemical, or biological), the flow rate of your system, and the pressure drop across the filter. Choosing a cartridge that’s not compatible with your system can lead to reduced performance or even damage. Gaskets are another critical component. These seals ensure a tight fit between the filter cartridge and the housing, preventing leaks that could compromise your filtration system’s efficiency. Opt for gaskets made from materials that are compatible with the fluids being filtered and can withstand the operating temperatures and pressures of your system. Lubricants are often overlooked but are essential for ensuring smooth operation, especially when installing new gaskets or O-rings. A thin layer of food-grade or industrial-grade lubricant can help prevent tearing or pinching during installation, extending the life of these components and reducing the risk of leaks.
When selecting tools and materials, consider the specific type of industrial filter you’re working with. For example, if you’re dealing with a high-pressure system, you’ll need tools and materials that can withstand those pressures without failing. Similarly, if your system handles corrosive chemicals, you’ll need to choose materials that are resistant to corrosion. Here’s a pro tip: always consult the manufacturer’s specifications and recommendations when selecting tools and materials. They know their products inside and out and can provide valuable insights into what works best for your particular setup. Don’t be afraid to ask for help or advice from experts in the field. Whether it’s reaching out to the manufacturer’s technical support team or consulting with a seasoned industrial maintenance technician, getting a second opinion can save you time, money, and headaches down the line. Remember, the goal is to replace obsolete filter cartridges efficiently and safely, ensuring your industrial filtration system operates at peak performance. By having the right tools and materials on hand and knowing how to select them wisely, you’re well on your way to achieving that goal.
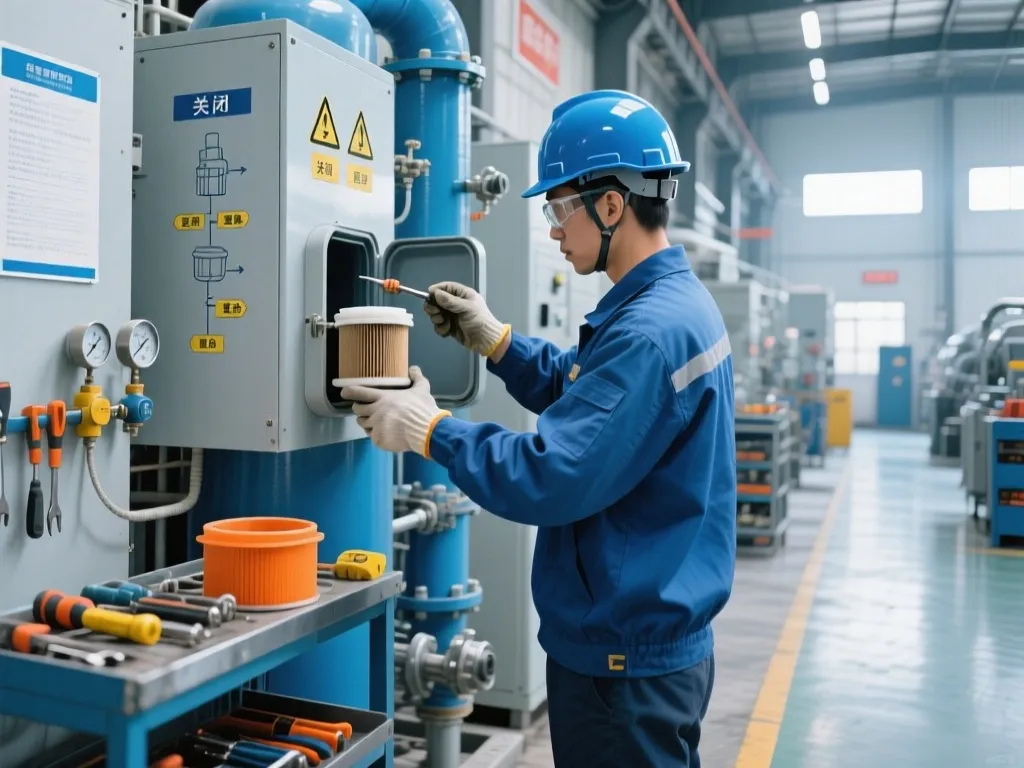
Step-by-Step Replacement Process: Detail each step of the replacement process, from shutting down the filtration system to installing the new cartridge and restarting the system. Include safety precautions at each step to prevent accidents and ensure a smooth operation.
Replacing obsolete filter cartridges isn’t just about swapping out old for new; it’s a meticulous process that demands attention to detail and a commitment to safety. Let’s walk through each step, ensuring you’re equipped to handle the task with confidence and precision. First things first, before you even think about touching that filtration system, you need to shut it down properly. This isn’t just a matter of flipping a switch; it’s about ensuring the system is completely de-pressurized and isolated from any power sources. Imagine trying to change a tire on a moving car – not a good idea, right? The same principle applies here. Use the system’s manual or consult with a supervisor to identify the correct shutdown procedure. This might involve closing valves, turning off pumps, or even disconnecting power supplies. Safety goggles and gloves are your best friends at this stage, protecting you from any unexpected splashes or sharp edges.
Once the system is safely shut down, it’s time to locate the filter housing. This is where the old cartridge resides, and it’s usually marked clearly on the system’s diagram or directly on the housing itself. Before you proceed, double-check that the system is indeed de-pressurized. A sudden release of pressure can cause serious injury, so don’t skip this step. Now, armed with your trusty wrench (or whatever tool the manufacturer recommends), gently loosen the housing’s bolts or clamps. Remember, patience is key here. Forcing the housing open can damage the threads or even crack the housing itself, leading to costly repairs down the line. With the housing open, you’ll see the old filter cartridge, probably looking a bit worse for wear. Before you remove it, take a moment to inspect the housing for any signs of damage or wear. This is your chance to catch any potential issues before they become bigger problems.
Now, carefully lift out the old cartridge, being mindful of any residual fluids or debris that might come with it. Place it in a designated disposal area – don’t just toss it aside; proper disposal is crucial for environmental safety. Next up, it’s time to install the new cartridge. But before you do, take a close look at the gaskets and seals. These little components play a huge role in ensuring a tight, leak-free fit. If they’re worn or damaged, replace them with new ones. Trust me, a few extra minutes spent here can save you hours of frustration later.
Now, gently slide the new cartridge into the housing, making sure it’s properly aligned. Don’t force it; if it’s not fitting smoothly, there might be an issue with the gasket or the cartridge itself. Once it’s in place, tighten the housing’s bolts or clamps to the manufacturer’s recommended torque settings. Over-tightening can cause damage, while under-tightening can lead to leaks. With the new cartridge securely in place, it’s time to restart the system. But before you do, perform a final visual inspection of the housing and connections. Look for any signs of leaks or loose fittings. Once you’re satisfied, slowly reintroduce pressure to the system, following the manufacturer’s startup procedure. This might involve opening valves gradually or starting pumps at a low speed. Keep a close eye on the system’s pressure gauges and flow meters during this process. Any sudden changes could indicate a problem with the new cartridge or the housing. If everything looks good, gradually increase the system’s load until it’s operating at full capacity. Congratulations! You’ve successfully replaced an obsolete filter cartridge, ensuring your industrial filtration system continues to operate at peak efficiency. But remember, this isn’t a one-and-done deal. Regular maintenance and inspection are key to preventing future issues and extending the lifespan of your system. So, keep an eye on those pressure gauges and flow meters, and don’t hesitate to reach out to a professional if you notice any signs of trouble. By following these steps and prioritizing safety at every turn, you’ll be well on your way to becoming a filter cartridge replacement pro.
Replacing obsolete filter cartridges doesn’t have to be a daunting task. By following this guide, you’ve learned the signs of outdated filters, gathered the right tools, and mastered the step-by-step replacement process. Now, your industrial filtration system can operate at its best, ensuring productivity and safety. Want more insights? Explore our website for additional tips or reach out to our experts for personalized advice. What other filtration challenges are you facing? Let’s tackle them together!