

In the fast-paced world of industrial filtration, every minute counts. When it’s time to swap out those worn-out filter bags, you can’t afford to waste time or risk safety. That’s why knowing How to quickly replace industrial filter bags? is a game-changer. This blog will walk you through the entire process, from prep to finish, ensuring you’re back up and running in no time. Ever wondered if there’s a smarter way to handle this task? Let’s dive in and find out!
Preparation Phase: Tools & Safety Essentials
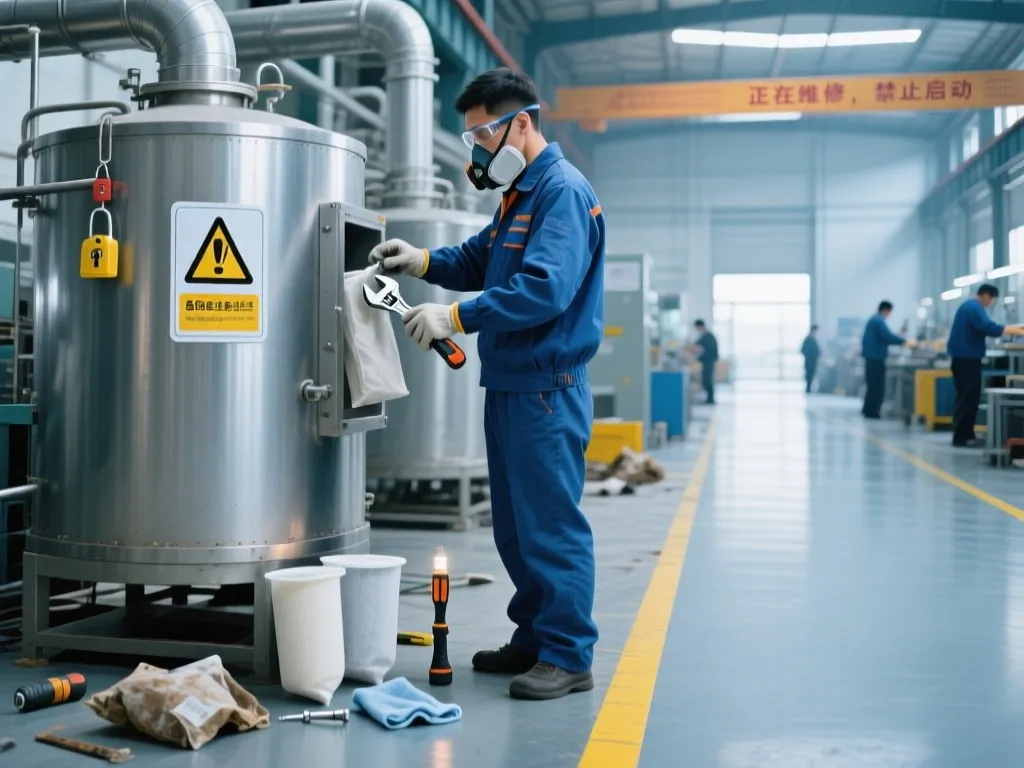
Before diving into the actual replacement of industrial filter bags, preparation is key. This phase isn’t just about gathering tools; it’s about ensuring your safety and the smooth execution of the task ahead. Let’s break down the essentials you’ll need and the safety measures you must take. First things first, let’s talk about the tools. You wouldn’t start building a house without a hammer and nails, right? Similarly, replacing industrial filter bags requires a specific set of tools to get the job done efficiently and safely. Here’s a comprehensive list to get you started:
- Protective Gloves: These are non-negotiable. Industrial environments can be harsh, and filter bags might be coated with dust, chemicals, or other residues. Protective gloves shield your hands from potential irritants and cuts.
- Safety Goggles: Your eyes are precious. When handling filter bags, especially during removal, dust and debris can fly unexpectedly. Safety goggles provide a barrier against these airborne particles.
- Respirator Mask: Depending on the nature of the substances filtered, the air around the filter housing might be contaminated. A respirator mask ensures you’re breathing clean air, protecting your lungs from harmful particles. For more information on choosing the right respirator mask, you can refer to OSHA’s guidelines on respiratory protection.
- Adjustable Wrench or Spanner: Most filter bags are secured with bolts or clamps. An adjustable wrench or spanner allows you to loosen and tighten these fixtures with ease.
- Screwdriver Set: Some filter systems might use screws to hold components in place. A set of screwdrivers, both flathead and Phillips, will come in handy.
- Replacement Filter Bags: Of course, you’ll need the new filter bags. Ensure they’re the correct size and type for your specific filter system.
- Cleaning Cloth or Rags: Before installing new bags, it’s a good practice to clean the filter housing area. A few cleaning cloths or rags will help you wipe away any dust or residue.
- Flashlight or Headlamp: Filter housings can be dark and cramped. A flashlight or headlamp provides much-needed illumination, allowing you to see clearly and work more efficiently.
Now, let’s shift gears to safety. Safety isn’t just a buzzword; it’s a mindset that should permeate every step of the replacement process. Here are some crucial safety precautions to keep in mind: - Power Down the Equipment: Before you even think about touching the filter bags, make sure the equipment is completely powered down. This means not just turning off the switch but also disconnecting the power source if possible. Electricity and moving parts are a dangerous combination.
- Lockout/Tagout (LOTO) Procedure: If your workplace follows LOTO protocols, now’s the time to use them. This ensures that the equipment remains de-energized and cannot be accidentally restarted while you’re working on it.
- Ventilate the Area: If the filter system has been running, there might be a buildup of gases or fumes inside the housing. Open doors or windows, or use fans to ventilate the area before proceeding.
- Follow Manufacturer’s Instructions: Every filter system is unique. Always refer to the manufacturer’s instructions for specific safety guidelines and replacement procedures. Ignoring these can lead to equipment damage or personal injury.
- Work in Pairs: If possible, have a colleague assist you. Not only does this make the task easier, but it also provides an extra set of eyes to spot potential hazards and offer assistance if needed.
By gathering the right tools and adhering to these safety measures, you’re setting yourself up for a successful and incident-free filter bag replacement. Remember, preparation is half the battle won. So, take your time, double-check everything, and proceed with confidence.
Disassembling Old Filter Bags: Steps & Techniques
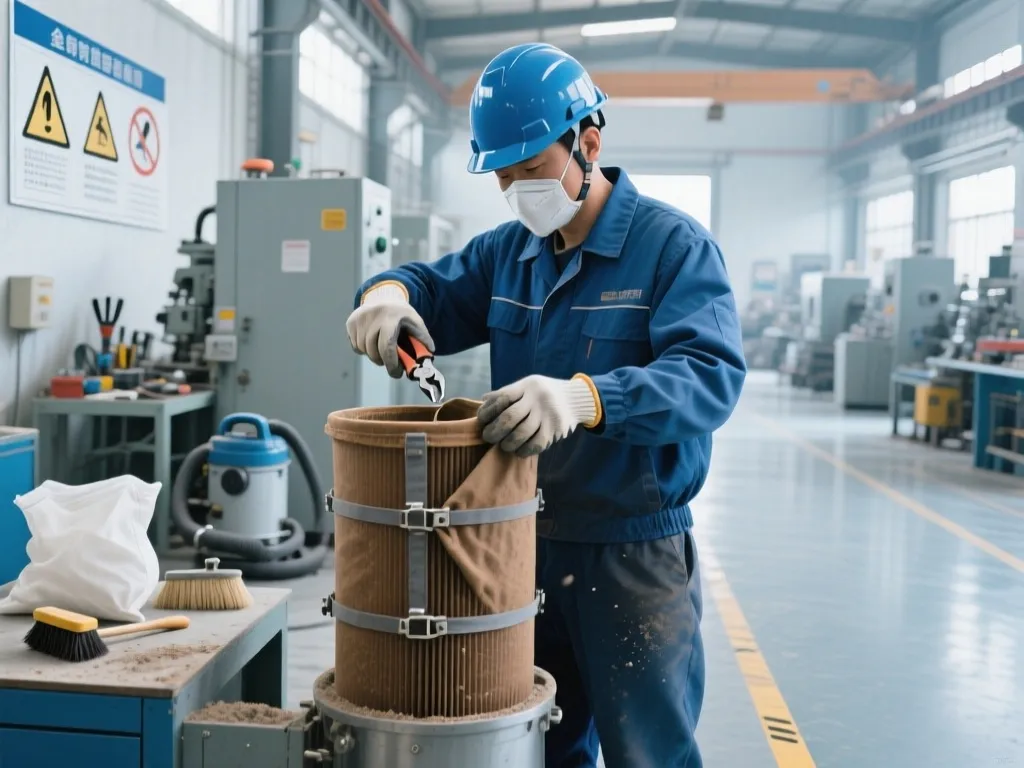
Alright, let’s dive right into the heart of the matter—disassembling those old industrial filter bags. This step is crucial because a smooth removal process sets the stage for a hassle-free installation of new ones. So, how do you go about it without causing any damage or risking your safety? Let’s break it down. First things first, you need to identify the type of fastening mechanism used to secure the filter bag in place. This could be anything from simple clips and bands to more complex locking systems. Each type requires a slightly different approach, but the general principle remains the same: loosen gently and steadily. For clip-based fasteners, start by locating all the clips around the circumference of the filter bag. Using a pair of pliers or a specialized tool designed for this purpose, gently squeeze the clips to release them. It’s important to apply even pressure to avoid bending or breaking the clips, which could make reinstallation difficult later on. If the filter bag is secured with bands, you’ll need to locate the tensioning mechanism. This could be a simple screw or a more sophisticated ratchet system. Again, the key is to loosen the tension gradually. Turning the screw counterclockwise or releasing the ratchet will allow you to slacken the band without causing it to snap back suddenly, which could be dangerous. Now, here’s a pro tip: before you start loosening any fasteners, take a moment to inspect the filter bag and its surroundings. Look for any signs of wear or damage that might indicate a weak point. If you spot any, be extra cautious when handling that area to prevent the bag from tearing apart during removal. Once all the fasteners are loosened, it’s time to actually remove the filter bag. Gently pull it out of its housing, taking care not to yank or twist it. If the bag seems stuck, don’t force it. Instead, wiggle it gently from side to side while pulling to loosen any stubborn bits of dust or debris that might be holding it in place. As you remove the filter bag, be mindful of your surroundings. Dust and debris can be released into the air, so it’s a good idea to wear a dust mask or respirator to protect your lungs. Additionally, if the filter bag contains any hazardous materials, make sure to dispose of it according to local regulations to avoid environmental contamination. One common mistake people make when removing old filter bags is rushing the process. Remember, patience is key here. Taking your time to carefully loosen each fastener and gently remove the bag will save you a lot of headaches down the line. Plus, it reduces the risk of damaging the filter housing or the new industrial filter bag you’re about to install. Another thing to keep in mind is the condition of the fasteners themselves. If they’re worn or damaged, it might be a good idea to replace them while you’re at it. This ensures a secure fit for the new filter bag and prevents any future issues that might arise from loose or faulty fasteners. Finally, once the old filter bag is out, take a moment to clean the filter housing. Use a brush or vacuum to remove any lingering dust or debris. This creates a clean surface for the new filter bag to sit on, ensuring optimal performance and longevity. So, there you have it—a step-by-step guide to disassembling old industrial filter bags. By following these steps and techniques, you can ensure a smooth, efficient, and safe removal process every time.
Identifying the Fastening Mechanism
The first step in disassembling an old industrial filter bag is to identify the type of fastening mechanism used. This could range from simple clips and bands to more complex locking systems. Each type requires a specific approach to ensure safe and efficient removal. For instance, clip-based fasteners can be released by gently squeezing with pliers, while band-based fasteners might require loosening a tensioning mechanism.
Inspecting for Wear and Damage
Before you start loosening any fasteners, take a moment to inspect the filter bag and its surroundings for signs of wear or damage. This helps you identify weak points that might require extra caution during removal. Spotting potential issues early on can prevent the bag from tearing apart and causing further damage or injury.
Gently Removing the Filter Bag
Once all fasteners are loosened, gently pull the filter bag out of its housing. Avoid yanking or twisting, as this can damage the bag or the housing. If the bag seems stuck, wiggle it gently from side to side while pulling to loosen any stubborn bits of dust or debris. Patience is key here to ensure a smooth removal process.
Cleaning the Filter Housing
After removing the old filter bag, take the time to clean the filter housing. Use a brush or vacuum to remove any lingering dust or debris. This creates a clean surface for the new filter bag to sit on, ensuring optimal performance and extending its lifespan. A clean housing also reduces the risk of contamination and improves overall system efficiency.
Installing New Filter Bags: Precautions and Verification
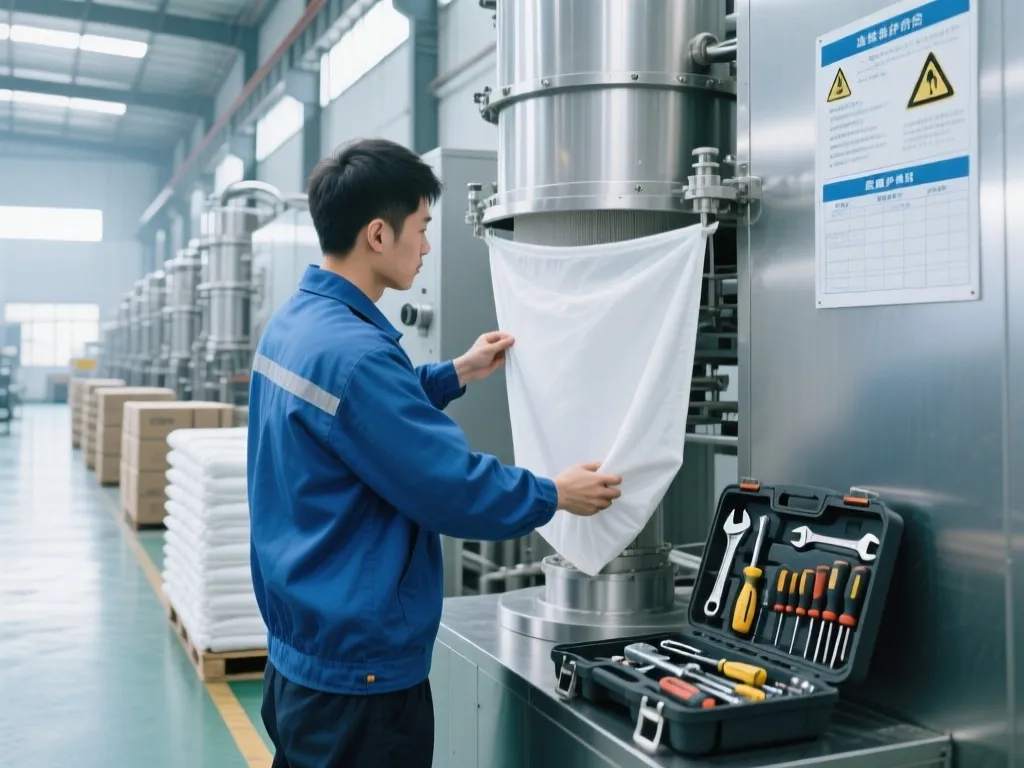
Now that you’ve successfully removed the old filter bag, it’s time to install the new one. This step is crucial as improper installation can lead to a host of issues, including reduced filtration efficiency, leaks, and even equipment damage. So, let’s dive into the key considerations and verification steps to ensure a smooth and effective installation. First things first, make sure you have the correct replacement filter bag for your specific industrial filter equipment. Double-check the model number, size, and any other specifications to avoid any compatibility issues. For instance, if you’re dealing with high-temperature environments, consider using basalt fiber filter bags which are designed to withstand extreme heat. Once you’ve confirmed the right fit, it’s time to get started with the installation process. One of the most important aspects of installing a new filter bag is proper alignment. The filter bag needs to be perfectly aligned with the filter housing to ensure a tight seal and optimal performance. Imagine trying to fit a square peg into a round hole – it just won’t work! So, take your time to carefully position the filter bag, making sure it’s centered and straight. Next, let’s talk about tightening devices. Most industrial filter bags come with some form of tightening mechanism, such as clamps, bands, or screws, to secure the bag in place. It’s essential to use these devices correctly to prevent any leaks or movement during operation. Follow the manufacturer’s instructions carefully when tightening the device, ensuring it’s snug but not overly tight, which could damage the filter bag or the housing. Now, here’s a pro tip: before you fully tighten the device, give the filter bag a gentle tug to make sure it’s seated properly and there’s no slack. This simple step can save you a lot of headaches down the road by preventing premature wear or failure due to improper installation. Once you’ve installed the new filter bag and tightened the device, it’s time to verify that everything is working as it should. There are a few key things to check to ensure a successful installation. First, inspect the filter bag and the surrounding area for any signs of leaks. Look for drips, wet spots, or any unusual odors that could indicate a leak. If you spot anything suspicious, don’t hesitate to re-examine the installation and make any necessary adjustments. Another way to verify the installation is by checking the pressure drop across the filter. A properly installed filter bag should maintain a consistent pressure drop within the manufacturer’s recommended range. If the pressure drop is too high or too low, it could be a sign of an issue with the installation, such as a misaligned bag or a leak. Finally, run a test cycle with the new filter bag in place. Monitor the equipment’s performance closely, paying attention to any changes in flow rate, pressure, or other key indicators. If everything looks good and the equipment is operating smoothly, congratulations – you’ve successfully installed a new industrial filter bag! But wait, there’s one more thing to keep in mind. Even with a perfect installation, it’s important to regularly inspect and maintain your filter bags to ensure they continue to perform at their best. Set up a regular maintenance schedule and stick to it, checking for signs of wear, damage, or clogging. By staying proactive, you can extend the life of your filter bags and keep your industrial filtering system running smoothly for years to come.
Alignment: The Foundation of a Good Installation
Proper alignment is the cornerstone of a successful filter bag installation. Without it, you’re setting yourself up for a host of problems down the line. So, how do you ensure perfect alignment? Start by carefully examining the filter housing and the filter bag itself. Look for any markings or indicators that can help you align the bag correctly. If there are none, use your best judgment and take your time to position the bag as straight and centered as possible. Remember, a little extra effort at this stage can save you a lot of time and money in the long run.
Tightening Devices: The Key to a Secure Fit
Tightening devices are essential for keeping your filter bag in place and preventing leaks. But using them correctly is just as important as having them in the first place. Follow the manufacturer’s instructions carefully when tightening the device, and don’t be afraid to ask for help if you’re unsure. For high-performance applications, consider using high-performance filtration bags which often come with robust tightening mechanisms to ensure a secure fit. Remember, over-tightening can damage the filter bag or the housing, while under-tightening can lead to leaks and reduced performance. Find the sweet spot and stick to it.
Verification: The Final Step to Peace of Mind
Once you’ve installed the new filter bag, it’s time to verify that everything is working as it should. This step is crucial for ensuring the long-term performance and reliability of your industrial filtering system. By checking for leaks, monitoring the pressure drop, and running a test cycle, you can catch any issues early on and make the necessary adjustments before they turn into bigger problems. For those seeking even higher efficiency, consider exploring high-efficiency filtration bags which are designed to optimize performance and reduce maintenance needs. So, don’t skip this step – it’s well worth the extra time and effort.
Now you’ve got the inside scoop on How to quickly replace industrial filter bags?. By following these steps, you’re not just saving time—you’re also safeguarding your equipment and boosting overall productivity. Remember, a smooth replacement means fewer interruptions and longer-lasting filters. So, why wait? Give these tips a try and watch your industrial filtration system perform at its peak. Want to explore more ways to optimize your operations? Keep an eye out for our next guide!